Saturday, June 04, 2011

Happy Anniversary Sweety!


23 years ago this month, and by sheer coincidence, I marched side-by-side at high school graduation with Chrissy Schweizer. 7 months later I called her out of the blue for a date (she said 'yes'). 3 years after, I said, "Let's buy a house" (she said 'sure'). 1 year after that we marched at our wedding to the theme from Star Trek (she said 'I do'). 3 yrs later we had a baby girl (I said 'push!'). 3 yrs after that, we had another girl (I said 'great, more girlie toys, sigh'). This morning I woke up, kissed her on the forehead, and wished her Happy Anniversary (I said 'Making breakfast?'). For those keeping track at home, that would be 17 yrs of marriage...well, 16 if you count the year I left and did missionary work in Guatemala.

I love you sweetheart! Happy Anniversary!!

Monday, April 18, 2011

Arcade cabinet restoration complete!


Well, 99% done. I still need to create a better marquee as the one I have created is printed on paper. Instead of buying one online I am considering calling around to some local print shops to see if they will take my design from Viso and print as a decal. I also need to figure out how to create some button descriptions for the control panel. I'm looking into water decals, but am worried that those would rub off. Will check around online.

Despite stripping down the computer's OS to bare minimum, some games stutter slightly. I may consider building the kids a new PC and taking theirs for the cabinet. The cabinet currently has a 1ghz Gateway while the kid's is a 2ghz with an external AGP video card.

I've also e-mailed Ultimarc as the controller will not switch to 8-way mode for some reason. This is making some top-shooter games difficult to play (1942, Gunbird, Sinistar, etc.).

Oh, and what a b$#@! it was getting this thing up the basement stairs!! Ouch!

Sunday, April 03, 2011

Arcade cabinet restoration: Part 3.5 - Controls and front panels


I still need to do some additional touch-up, but for the most part she's ready!

Saturday, April 02, 2011

Arcade cabinet restoration: Part 3 - Controls

Ok, it's coming together. By tomorrow afternoon I should be chasing Inky and Blinky....and the other two....

I ordered my controls from Ultimarc last Sunday and had them by Wednesday (I guess that's why I paid $18 for shipping). All told it took me about 3 hours and 2 trips to Radio Shack to complete the process of installing and wiring. I must say I'm quite pleased with the results, especially since they ACTUALLY WORKED when I plugged them in!!

I'm not typically very anal about wiring. In this case though I was a bit more careful and took my time. I avoided using solder on all connections but one and used crimped connectors mostly. Everything worked in MAME perfectly.

I'm in the process of painting the front panel and should have that ready by morning. Excelsior!


Monday, March 28, 2011

Arcade cabinet restoration: Part 2 - Painting & Finishing

The cabinet is coming along nicely. Some sanding and a few fresh coats of paint are adding some life to my project. I also had to do some additional spray painting inside the cabinet and on the VGA monitor frame (black, it was coming out of my nose after the shower this morning, blech). To my dismay the original plexiglass screen had a teeny tiny crack right dead center. Small, but surely large enough to annoy me every time I play Shinobi. I put on a new plexiglass screen and marquee. I also designed the marquee decal. It's printed on plain paper for now and I will replace with high quality glossy stock later on.

I placed my order for the iPac controls from Ultimarc. In the meantime I will be designing the controller surface and front. Hopefully, I get everything done over the next weekend and will have it ready when the joystick and buttons arrive.

As you can see, Emma is hard at work helping me test more ROMs. Good job sweety!


Monday, March 14, 2011

Controller Layout


While I await a trip to Lowes for some paint and parts I fired up Visio and created a controller layout. I found this dude who already had custom shapes and part numbers in a VSD. I'm not going crazy on mine with the trackball, spinner, or loads of buttons. Just the basics for DK, Pacman, Dig Dug, etc.

UPDATE: The controls are 'spensive!!! So, I opted for a single player controller layout. So, scratch one of the player controls above.


Sunday, March 13, 2011

Arcade cabinet restoration: Part 1 - Cleanup

About 12 years ago I had the opportunity to acquire an old arcade cabinet after the Funspot in Dover closed. I gutted it and removed the VGA screen and electronics (it had been out in the rain) with the intention of one day restoring it as a MAME cabinet. Well, "one day" finally came. My daughter Emma has become a fan of the early 80's arcade classics and goaded me into completing it. A recent trip to Funspot in Gilford probably helped here!

I had started down this path before in R&D mode only, so I have an idea of what I'm getting into. Luckily there is a bit of a cottage industry in arcade cabinet restoration with several websites, blogs, and stores offering tips and parts. So, after creating a basic project plan (yes, in MS project) I dragged the old cabinet out of a dank corner of the basement and got to work. So begins the journey!
I should note that this was originally "Time Pilot '84", a very crappy sequel to "Time Pilot" (which was a great game). Ignore the mess around the cabinet! Eeeshhh....

After buying a CF bulb and wiring a new plug I was delighted to see that the marquee light still works!


I apparently did not do a good job emptying it out initially so I dug in and removed the remaining debris. SCORE!! I found a number of old tokens in the base.

Note the silver ones. I had forgotten that Funspot used to be a Club Video. I wonder if these still work??


I had a can of satin gloss black Krylon so I touched up the edging, top, and back of the cab. Next steps are to remove the decals on the side and the marquee. I started doing the marquee but after 25 minutes I realized that I should call my neighbor to see if he has a heat gun for the rest (Mike, expect a call).

The process here will be two fold:
1) Restoring the cabinet, which includes painting, replacing the plexiglass, new decals on the marquee and side. I also need to construct the front face of the cabinet and shelves inside to support a monitor.
2) Readying a PC with M.A.M.E. (with MaLa front end). I'll be ordering the I-Pac by Ultimarc with various controls/buttons and testing them out. I've been testing MAME on Ubuntu Linux. The bootup speed on this OS is astounding (don't want to be waiting around when ready to play). Plus it's FREE!

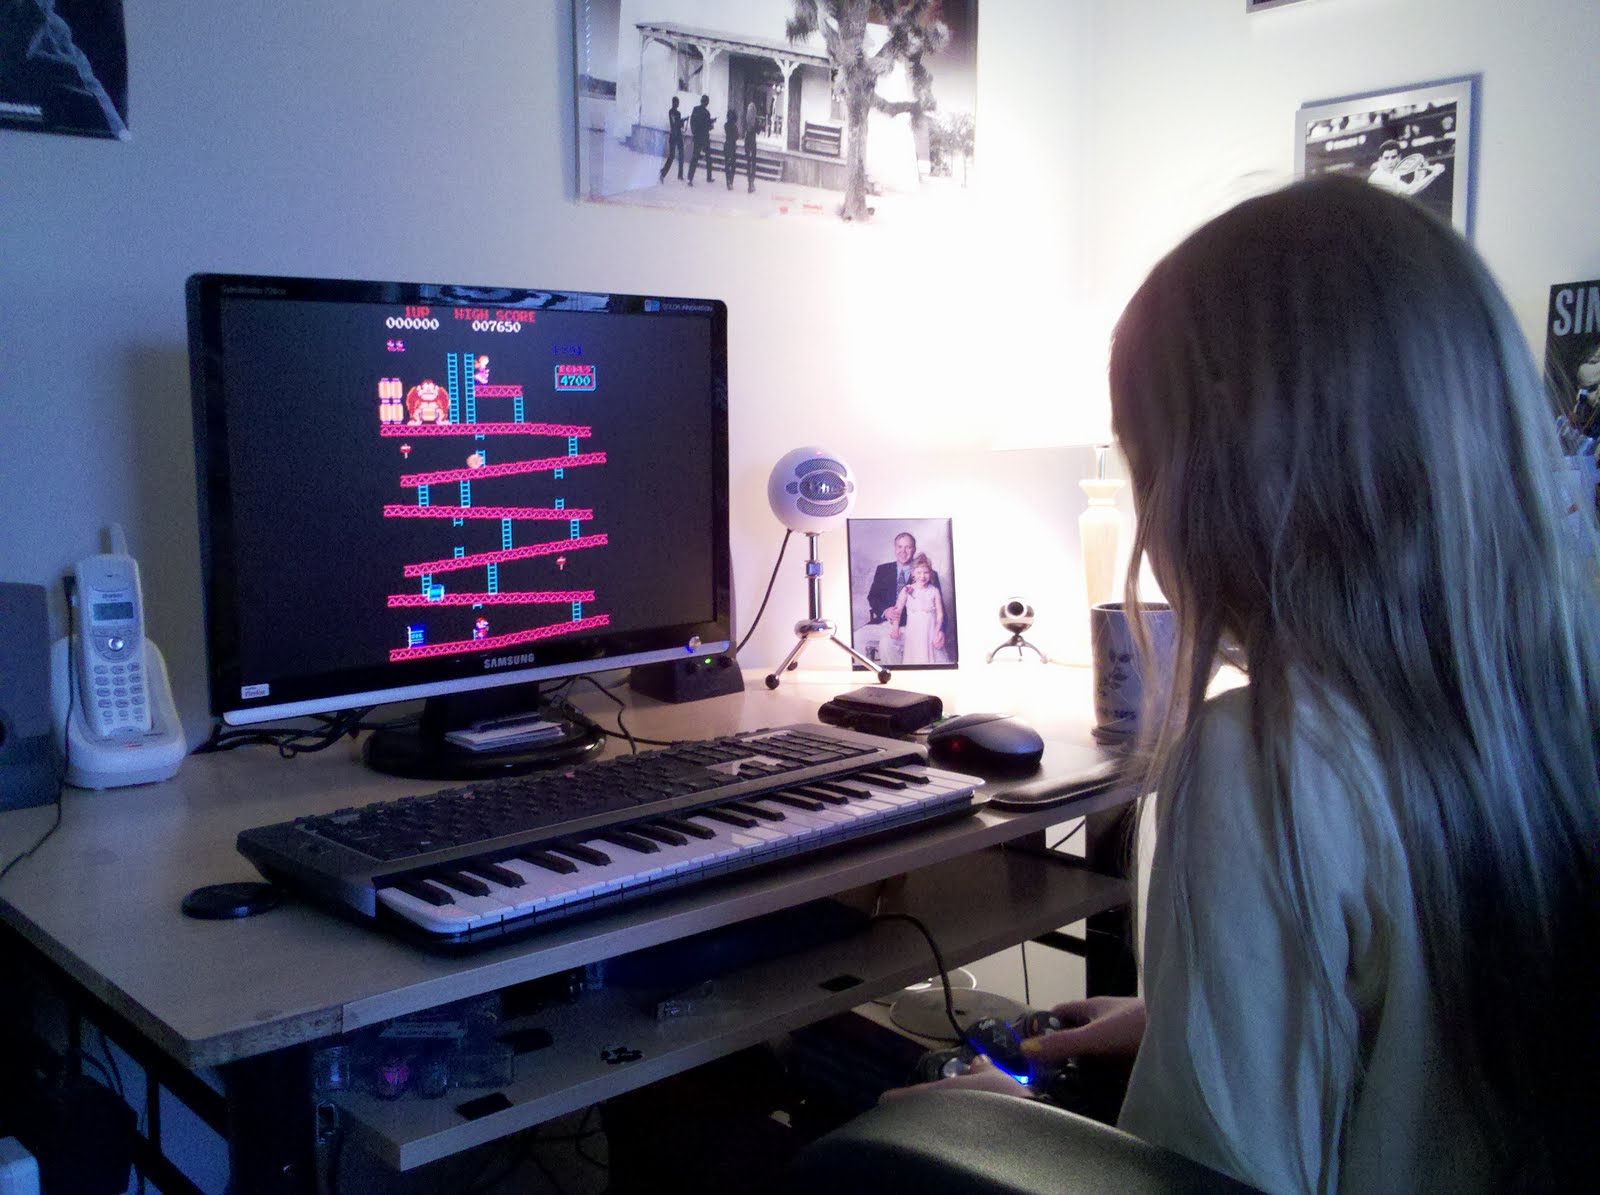
Emma has agreed to help out by testing all of my ROM's to determine which ones will be included in the MAME install. :)


Check back soon!